
How to Compost at Home: A Practical Guide for Indian Households
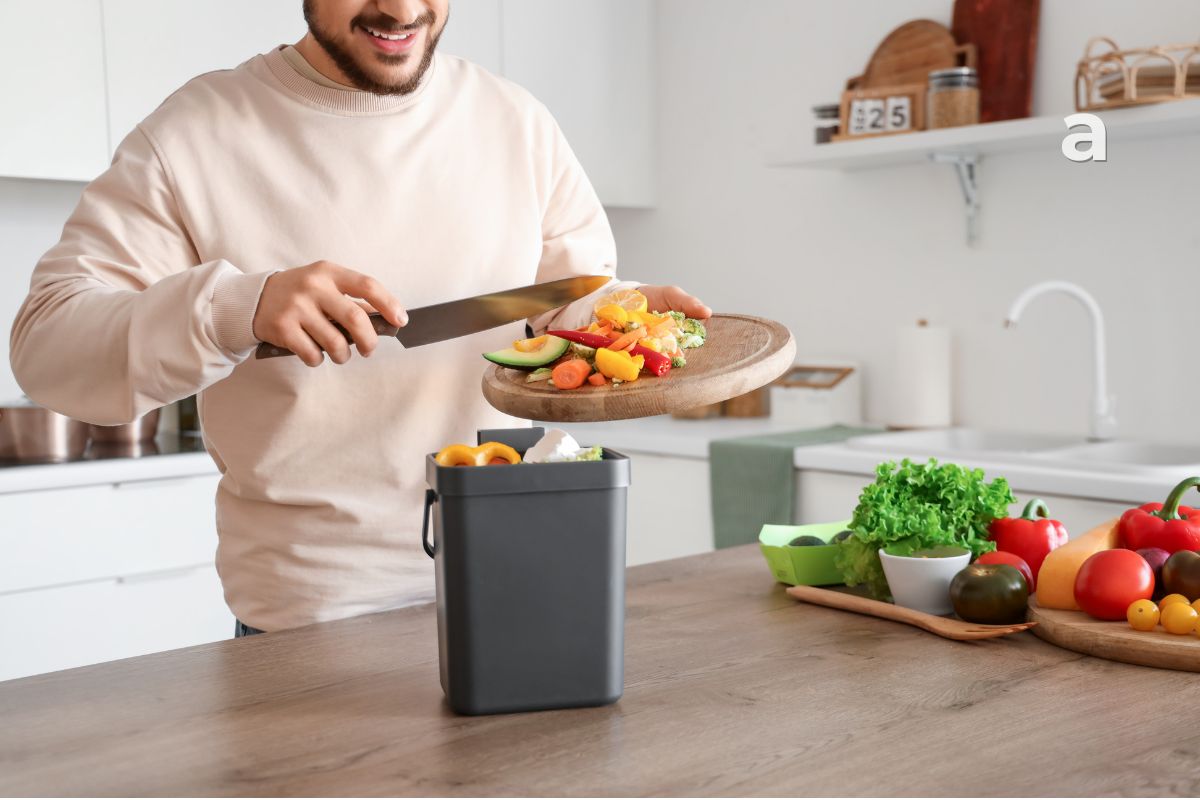
A bowl of vegetable peels does not look like much. But if your household cooks regularly, those scraps soon add up—and so does the question of what to do with them.
Home composting can turn some kitchen and garden waste into a useful soil amendment. It does not require a large garden, an expensive machine, or a perfectly maintained system. It does require choosing a method that suits your space and learning a few basics about air, moisture, and what belongs in the bin.
The easiest way to begin is with a small trial. Separate a few days’ worth of suitable plant scraps, choose a covered system that fits your home, and learn how it behaves before scaling up. A balcony pot, a purpose-made kitchen bin, a shared apartment composter, or your local collection service may each be appropriate in different circumstances.
This guide explains how to compost at home without treating one method as right for every household. The Government of India’s Manual on Biodegradable Waste Management lists several household options and says that the suitable method depends on local conditions, available space, and the amount of waste. Start with those realities rather than buying equipment first.
How to Compost at Home: Choose a Setup That Fits
Before choosing a bin, answer three questions:
- Where could the system stay?
Think about rain, direct sun, ventilation, access for adding scraps, and whether the floor or balcony can be kept clean. - How much suitable waste do you produce?
A person who cooks occasionally may need only a small batch setup. A larger household may need more capacity or a community arrangement. - What will you do with finished compost?
You might use a small amount in potted plants, share it with a neighbour who gardens, or ask your housing society whether it has a community garden or composting area.
If there is no suitable place, no one to maintain the system, or nowhere to use the result, home composting may not be the best fit right now. Separating wet waste and handing it to the local collection system is still a useful option. A compost bin should solve a practical problem for your household, not become another neglected object.
For a wider reflection on what happens after things leave our homes, see Aarohi’s article The Things We Throw Away Without Thinking.
Choose a method that matches your space
You do not need to compare every composting technology before starting. Begin with the main options and their limitations.
| Method | Often suits | Consider before choosing |
|---|---|---|
| Covered pot or small bin | A small household with limited space and a modest quantity of scraps | Protect it from rain, keep it covered against pests, and follow the method’s guidance about ventilation |
| Two or more batch containers | A household that wants to keep adding scraps while an earlier batch rests | You need space for more than one container and a way to keep the resting batch undisturbed |
| Purpose-made kitchen composting bin | A home that wants a compact, organized setup | Check what materials the product accepts, how it is maintained, and whether it produces liquid that needs handling |
| Community or housing-society composter | An apartment without a suitable private space or a household with more scraps than a small bin can manage | Confirm who maintains it and what residents should separate before contributing |
| Backyard pit or larger compost area | A home with suitable outdoor space and appropriate ground conditions | Rainfall, drainage, water sources, pests, and local guidance matter |
The Government of India’s household waste manual discusses small-space options such as single-pot, tripot, kitchen-bin, and portable-bin composting. It also notes that some methods need protection from rain or pests. Its suggestions are not a universal product specification: use the instructions for the exact system you choose.
In an apartment, ask your housing society or building manager before installing anything that could leak, attract pests, affect a shared space, or conflict with building arrangements. A shared system can be more workable than keeping a private bin on a small balcony.
Keep source separation simple
Set up a small container in the kitchen for plant scraps you intend to compost. A removable, washable container is easier to keep clean than an open bowl left on the counter.
For a basic beginner’s pot or aerobic bin, start with familiar plant-based materials:
- fruit and vegetable peels or scraps;
- tea leaves and coffee grounds;
- crushed eggshells, if accepted by the system;
- dry leaves;
- small amounts of plain, shredded cardboard or paper, if accepted by the system.
Keep plastic, glass, metal, wrappers, stickers, and sanitary waste out of the compost. Remove produce stickers and packaging before adding scraps. The current national waste framework also calls for separate handling of wet waste, dry waste, sanitary waste, and special-care waste; check your local body’s instructions for collection and segregation. The Ministry of Environment and Forests’ 2026 rules overview describes those four streams.
For a small, unmanaged beginner bin, avoid adding meat, fish, bones, dairy, oily food, or heavily seasoned cooked leftovers unless the system’s instructions explicitly allow them. These materials can attract pests or create odour when the setup is not designed to handle them. Some municipal or purpose-built systems accept a broader range of wet waste. Follow that system’s rules rather than assuming every composting method works the same way.
The FSSAI’s home composting resource also recommends separating organic scraps from non-compostable waste and layering kitchen scraps with dry organic matter such as leaves or sawdust.
A small first batch: the practical sequence
You do not need to make a large pile on day one. A small trial makes it easier to notice what is happening and adjust.
1. Prepare the container
Use a composting pot or bin designed for the method you have chosen. For a simple covered pot, make sure it can be protected from rain and that any ventilation or drainage features are used as intended. Place it somewhere stable where spills can be cleaned easily.
Do not put an unlined container directly over a drain, wooden floor, or shared walkway. If the system produces liquid, follow the manufacturer’s or local composting program’s directions for collecting and disposing of it. Do not pour unknown or concentrated liquid into a storm drain.
2. Begin with a dry base
Place a layer of dry leaves, shredded plain paper, or another approved dry material at the bottom. This provides a base for the first scraps and helps keep the contents from becoming a wet, compacted mass.
You may use a small amount of finished compost or soil as a starter if your chosen method recommends it. It is not necessary to buy a special starter for every system. Do not add a chemical product just because a bin seems slow; first check the accepted materials, moisture, and ventilation.
3. Add a small amount of scraps
Chop larger scraps into smaller pieces when practical. Add a modest layer rather than filling the container quickly. The smaller pieces expose more surface area, but you do not need to spend time cutting every peel into tiny fragments.
For each layer of fresh, wet scraps, add a layer of dry material. Cover the new scraps rather than leaving fruit or vegetable pieces visible on top. A covered layer helps reduce odour and makes the bin less attractive to flies.
4. Check the moisture
The contents should feel like a wrung-out sponge: slightly damp, not dripping wet. If they are soggy, add dry leaves or another approved dry material and mix or fluff the contents if your method allows it. If they are very dry, add a little moisture rather than pouring in a large amount of water.
A compost system is not a place to store liquid. Standing water or pooled leachate usually means something needs attention: too much wet material, poor drainage, rain getting in, or a container that is not suited to the method.
5. Keep the system covered and ventilated
Use the lid or cover that came with the system. It should discourage pests and keep rain out while allowing the airflow required by that method. Do not seal an aerobic compost bin airtight unless the specific system is designed to work that way.
If your container is outdoors, protect it from heavy rain and waterlogging. The government manual identifies rain protection as a limitation for several small household methods. If the weather is very hot, keep the bin in a shaded, ventilated location rather than letting it bake in direct sun.
6. Add scraps gradually
Keep using your kitchen collection container and transfer the contents regularly. Rinse and dry the collection container between uses. If you cannot tend the compost bin for a few days, store the kitchen scraps in a way that suits your climate and the container; do not leave food scraps exposed where pests can reach them.
For a batch system, stop adding fresh scraps when the container is full and let that batch rest according to the method’s instructions. Use another container for new material. This is why two or more containers can be helpful: one can rest while the next receives scraps.
How to tell whether the bin needs attention
A compost bin does not have to look attractive at every stage. What matters is whether it is contained, reasonably clean, and progressing without persistent nuisance.
If it smells sour or rotten
A strong unpleasant smell often means the mixture is too wet, too compact, or has too much fresh food exposed. Add dry leaves or another suitable dry material, gently mix or aerate if the method allows, and cover fresh scraps. Check that rain is not entering the bin.
A healthy, mature compost usually has an earthy smell. If the odour continues after adjustments, stop adding scraps temporarily and check the container’s instructions.
If you see fruit flies
First check whether the lid closes properly and whether fresh scraps are covered. Add a dry layer over exposed food, clean the surrounding area, and empty the kitchen collection container. Do not spray insecticide into compost that you plan to use around plants.
If flies keep returning, the system may need better covering, different placement, or a more suitable bin. A fly problem is a reason to adjust the setup, not to add more materials in the hope that it will fix itself.
If the contents are soggy
Add dry material and check for rainwater or pooled liquid. Do not keep adding water. If the bin has drainage features, make sure they are not blocked and that any liquid is being handled as the system instructions specify.
If the contents seem dry
Add a small amount of water and mix it in if the system allows. Avoid flooding the bin. Then check it again later rather than repeatedly watering it.
If the scraps look unchanged
Composting takes time, and its pace varies with the materials, container, temperature, moisture, airflow, and method. Larger pieces may take longer to break down. Check whether the bin has enough dry material and whether it is too compact. Follow your system’s instructions about turning or mixing; some methods need more regular aeration than others.
Do not compare your bin’s progress to a different method or an online photo. A small household pot and a managed community facility are not the same system.
When is the compost ready?
Finished compost is usually darker and more crumbly than the scraps that went in, with a mild earthy smell. You should not be able to identify most of the original food pieces. Some woody bits or tough material may take longer; you can return those to a new batch if the method permits.
If the material still smells strongly of food or looks like recognizable fresh scraps, give it more time. Do not place unfinished, odorous material in a pot with indoor plants or spread it around a shared garden.
The FSSAI’s simple home compost example describes a finished mixture as dry, dark, crumbly, and earthy-smelling, while the government household manual describes different resting periods for different methods. There is no single calendar date that applies to every bin. Let the condition of the material and the instructions for your method guide you.
Use finished compost in modest amounts as an amendment for soil, following the needs of the plants and the advice of a gardening source. It is not a complete replacement for potting mix, and more is not automatically better. If you do not have plants, ask neighbours, a community garden, or your housing society whether they can use it.
Composting in an apartment
A balcony is not the only option for apartment residents. You might use a small covered system if your building permits it, join a shared system, or use the local collection program.
Before starting a private balcony bin:
- check whether the balcony receives heavy rain or strong direct sun;
- place the container where it will not block access or spill onto neighbours;
- use a stable tray if the chosen system requires one;
- make sure the lid and ventilation suit the method;
- decide who will maintain the bin when you travel;
- identify where finished compost will go.
If these conditions are difficult to meet, ask the residents’ association about community composting or local wet-waste collection. A well-maintained shared system can be more practical than several small bins that no one tends.
India’s Solid Waste Management Rules, 2026 describe source segregation into four streams and processing of wet waste through composting or bio-methanation. The national rules do not mean every home must install its own composter. Local bodies may provide collection or processing arrangements, so check the current guidance for your city or municipality before deciding how to handle household waste. The Government of India’s overview of the 2026 rules
A first-week checklist
Use this checklist to begin without turning composting into a major project:
- Choose a method based on space and the amount of waste you produce.
- Find out what the method accepts.
- Check local segregation and collection instructions.
- Place the bin somewhere protected from rain and easy to clean.
- Keep a separate container for suitable scraps.
- Start with a small amount of plant-based kitchen waste.
- Cover fresh scraps with dry material.
- Check for excess moisture, exposed food, and pests.
- Decide where finished compost could be used.
- Adjust the system before adding more waste.
You can also keep a simple note for the first few weeks:
What I added: ____________________
What the bin looked or smelled like: ____________________
What I changed: ____________________
What I will check next: ____________________
That small record can help you identify whether the issue is excess moisture, exposed food, poor ventilation, or a mismatch between the bin and your household.
These answers cover common questions that come up when deciding how to compost at home.
Common questions about home composting
Can I compost in a flat without a balcony?
Possibly, if you have a suitable covered system and can maintain it without odour, leaks, or pests. Check the product or program instructions and your building’s arrangements. If there is no suitable place, a community composter or local waste-collection service may be more workable.
Do I need a special composting machine?
No. The government manual lists multiple household methods, including pots, bins, and pits. A machine is one option, not a requirement. Choose the simplest system that fits your space, quantity of waste, and ability to maintain it.
Do I need to add worms?
Not for every method. Vermicomposting is a distinct system that uses earthworms and has its own setup and care requirements. A basic aerobic pot or bin can work without adding worms. Follow the instructions for the method you chose.
Can I put all kitchen waste in one compost bin?
No single answer applies to every system. A simple beginner’s pot or aerobic bin should start with suitable plant scraps and dry material. Some community systems accept a wider range of wet waste. Check the method’s accepted-material list and local rules, especially before adding cooked food, meat, fish, dairy, or oily scraps.
How long does home composting take?
It varies. The type and size of the container, what you add, moisture, temperature, airflow, and how the method is maintained all affect the process. Use the compost’s condition and the system’s instructions rather than relying on a fixed number of weeks.
What if I have no plants to use the compost?
Ask a neighbour, community garden, school garden, or housing society whether they can use it. If you do not have a reliable use for the finished material, consider community composting or local wet-waste collection instead of starting a private system.
Begin with a setup you can maintain
Learning how to compost at home starts with choosing a method that fits your space and routine.
Start with a small system. Keep the materials separated. Cover fresh scraps, manage moisture, and protect the bin from rain and pests. If something goes wrong, pause and adjust before adding more.
And if home composting is not practical where you live, choosing a local collection or shared system is a thoughtful solution too. Aarohi’s guide to conscious living is a reminder that intentional choices are shaped by the circumstances we actually have—not by an ideal version of daily life.
Sources and further reading
- Government of India: Manual on Biodegradable Waste Management
- FSSAI / Eat Right India: Creating a home compost pit
- Press Information Bureau: Solid Waste Management Rules, 2026
This article offers general household information. Follow your composting system’s instructions and your local body’s waste-management guidance.
If this stayed with you, you can support Aarohi here🌿
If this piece stayed with you, you can support Aarohi 🌿
Secure payments via UPI, Cards, Net Banking & PayPal
This is not a transaction, it is an exchange of energy.


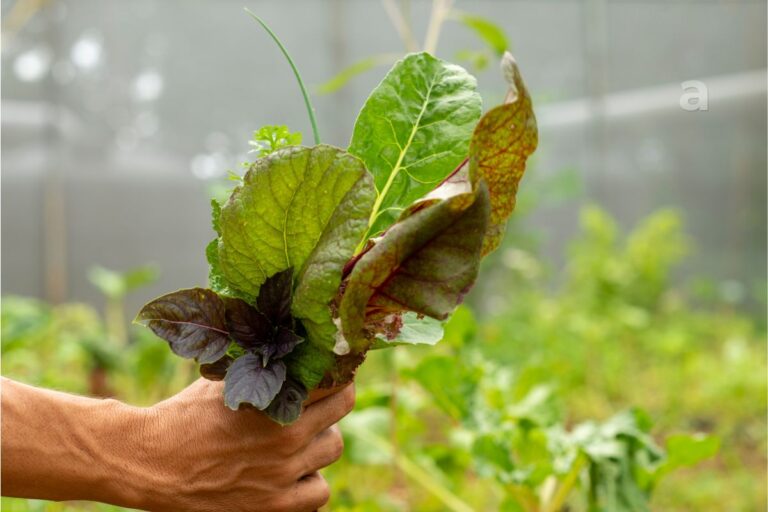



It is interesting how much biodegradable waste our kitchens produce every day. Have you ever observed how much vegetable and fruit waste your household generates in a week?